The “before and after” theme of the last photo challenge was fun! And it so happens that I have a shaggy dog story that follows along that theme and unfolded this past weekend.
Since my retirement three years ago, I’ve been able to spend some quality time with my photography hobby and learn some digital editing. I’ve discovered so much in just a few short years, but I know that I have oodles more to go! And my time is limited right now because I am doing full-time consulting work this year. Rats! That leaves the weekends to carve out some hours to play with my photos and digital editing. And I get easily sidetracked along the way…
Case in point, I was going through my photo inventory and looking at my Seagrove pottery pictures so that I could prepare a blog post in the near future. While going through the pictures, I saw a rather dismal snapshot I took of an adorable and disheveled canine. I had forgotten all about that pup until I saw the image.
At this same time, I was also trying to find a tutorial for a technique that I used over a year ago. After wracking my feeble brain, I finally remembered that I saw the tutorial on the Adobe Photoshop Elements Techniques web site (membership required). While I was searching for it there, I stumbled onto a tutorial on how to do high-key photo editing using Camera Raw. Whoa, there I went off on a tangent! I told myself, yes, I want to learn more on how to use Camera Raw in Photoshop! And yes, I have never seen a concise tutorial about digitally creating a high-key photo. Never mind what my original intentions were!
Are you still following along? Are your eyes glazing over? Hang in there and don’t let the terminology scare you off. I told you this was a shaggy dog story! And I have pictures.
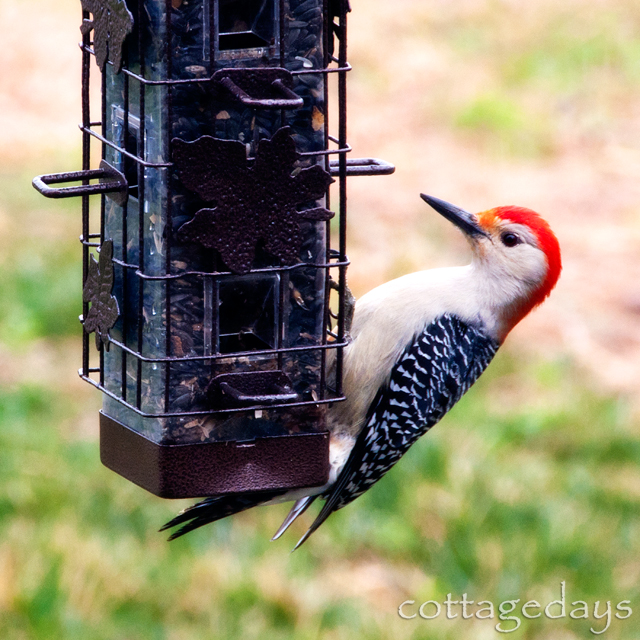
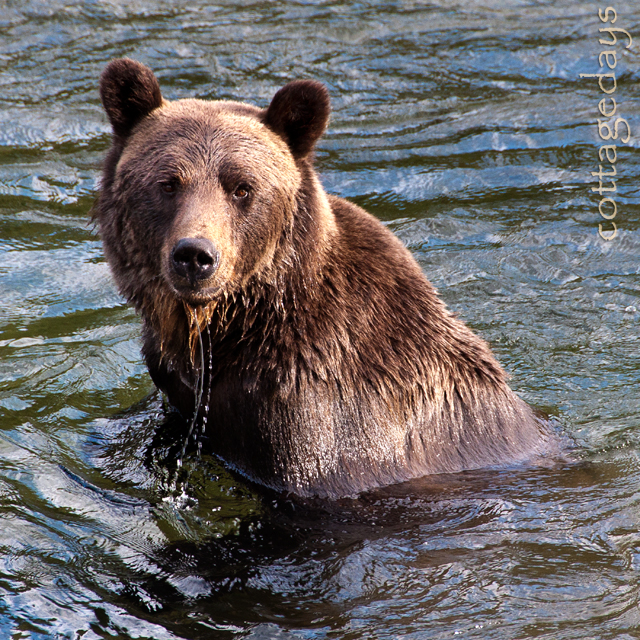
So in my usual rambling mode this past weekend, I went through the lesson and then grabbed the last picture I saw – the dismal one with the dog – to do a little playing in Photoshop. To make matters worse, the photo was taken with my little Coolpix point-and-shoot camera, so the image clarity is not up to par with those taken by my DSLR. Heavens to Betsy, there is hardly any redeeming quality to this hastily taken photo of a cute puppy dog, except that it is in focus. Here it is, straight out of the camera with no editing whatsoever.

It’s really a sad picture from a technical point of view. The subject is dead center (a composition no-no). The car is woefully distracting. The unattractive concrete block building in the background (complete with fluorescent light in the window, wires, and conduit) is the crowning touch to the composition disaster. Hey, but the subject is a cute dog – a shaggy one with the wind blowing through his hair! And I LOVE to throw a little test at myself to see if I can create something cool out of almost nothing. Game on!
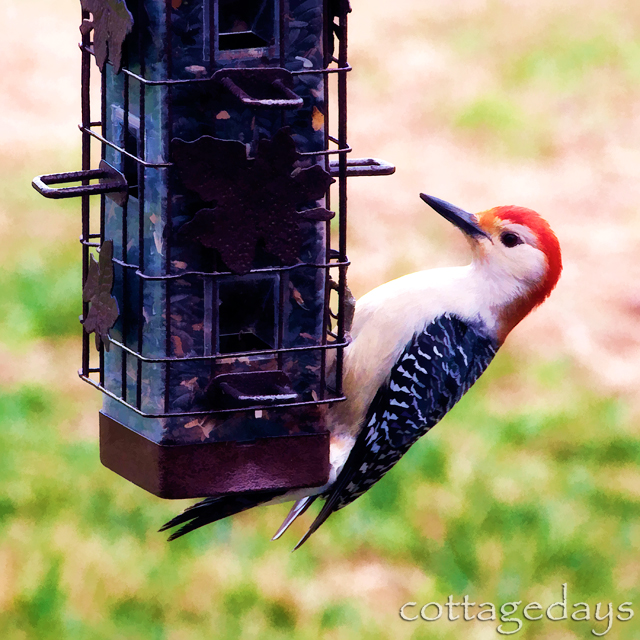
So the first thing I did was crop the image to just a partial view of the pup’s head. Then I did some high-key tricks via the tutorial. At that point, it did NOT look promising. The grain was bothering me and I wasn’t getting the usual texture that I crave. I quickly remembered why don’t try to create high-key photos! The delete button was screaming for a well-placed finger. It was really awful. What the heck, I figured it was time to break into the Topaz Adjust plug-in and see what freakish things the various filters could do, just for a few laughs!
Like, what was I thinking, trying to coax a decent result out of this image? Geez, the things I challenge myself to do, LOL.
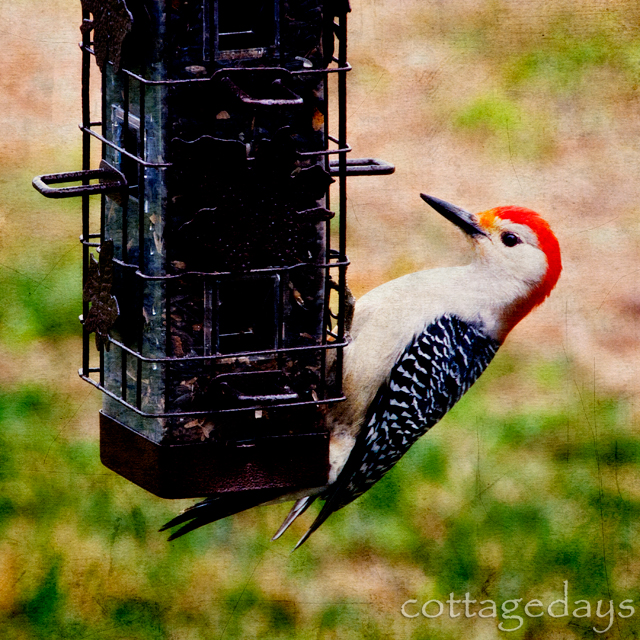
Well, low and behold, the “dark-ghostly” filter made the picture pop and sizzle! I was dazzled by the gritty glows! I whooped and did a little celebration high-five with Marty, knocked back a diet coke, and finished up my editing with some background touchups.
Drum roll, please! Here is the wild ghost dog that immerged from my little creative session!
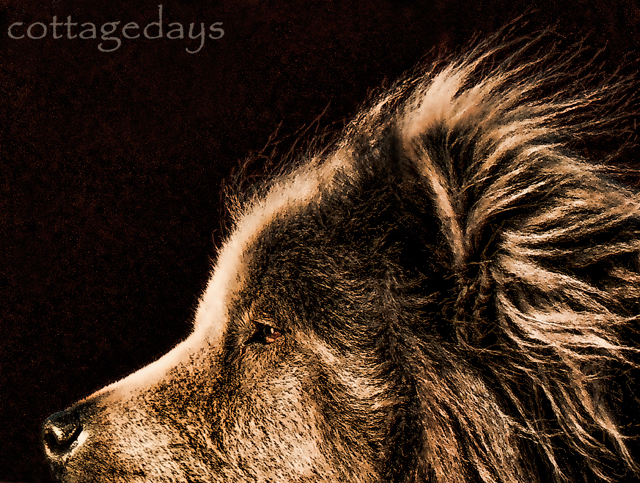
How’s that for a dramatic “before and after”! I love happy endings, don’t you?