Have you checked out the price of greeting cards these days? Oh, it’s enough to give you a fright! Several years ago, I decided to forgo my regular visits to the local Hallmark store and avoid the greeting card aisle at Wal-Mart. What’s a budget conscious gal going to do? Make her own!
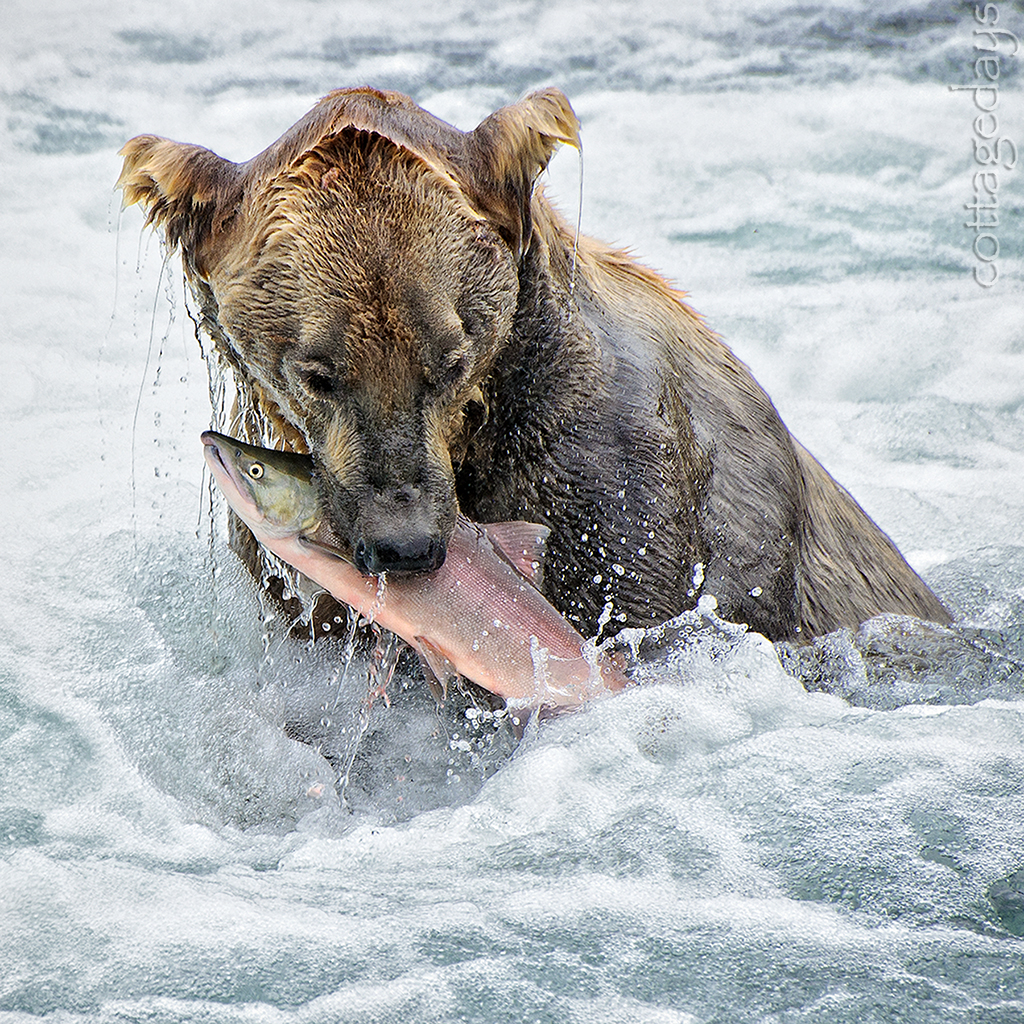
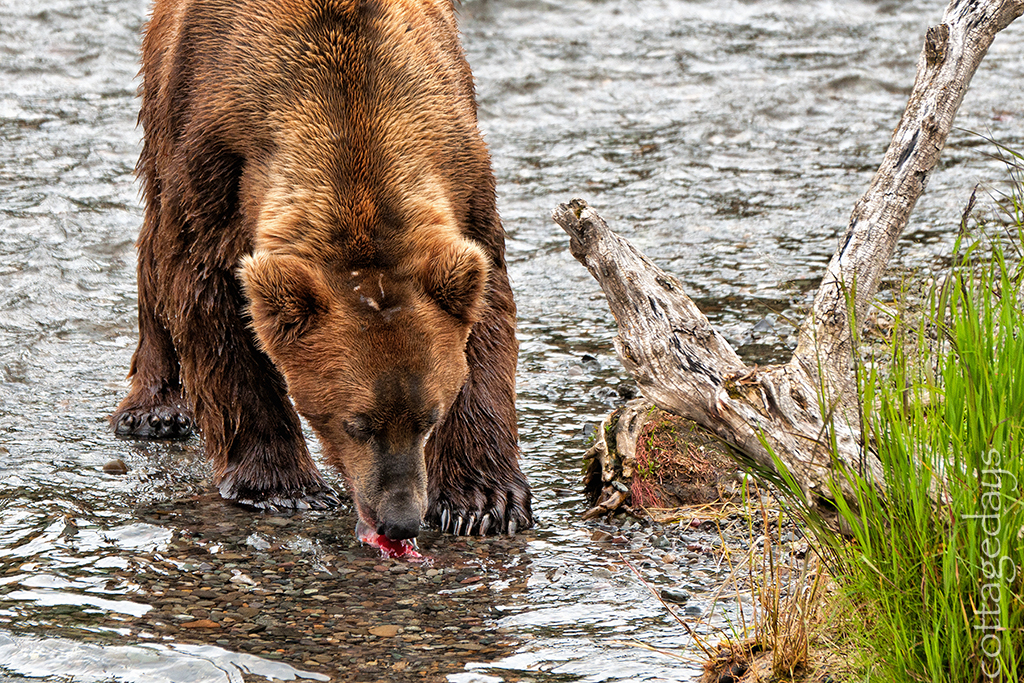
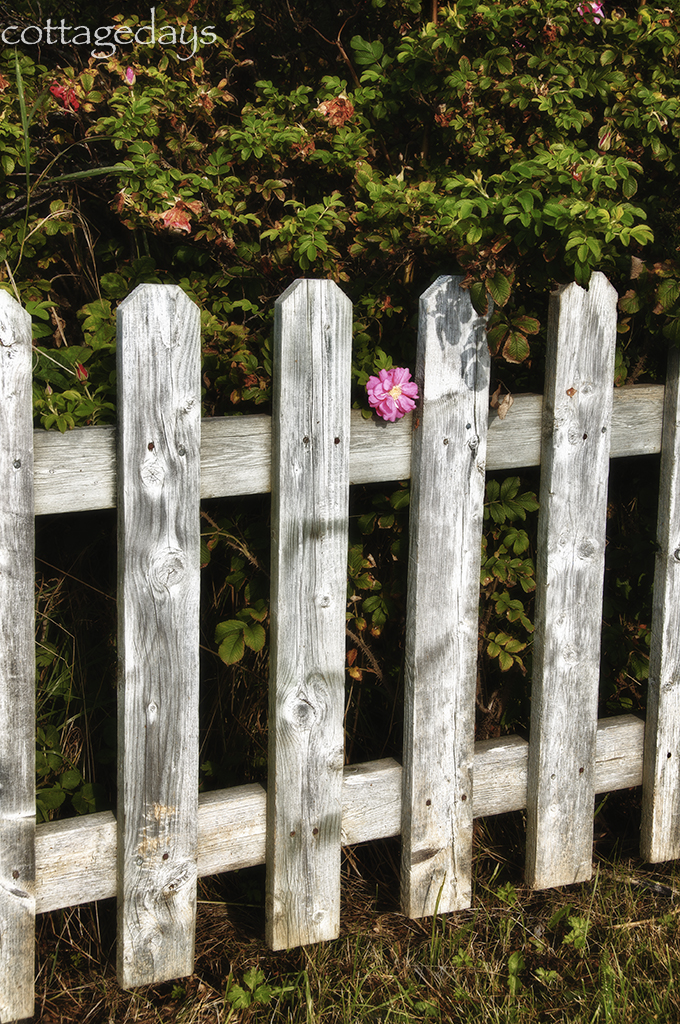
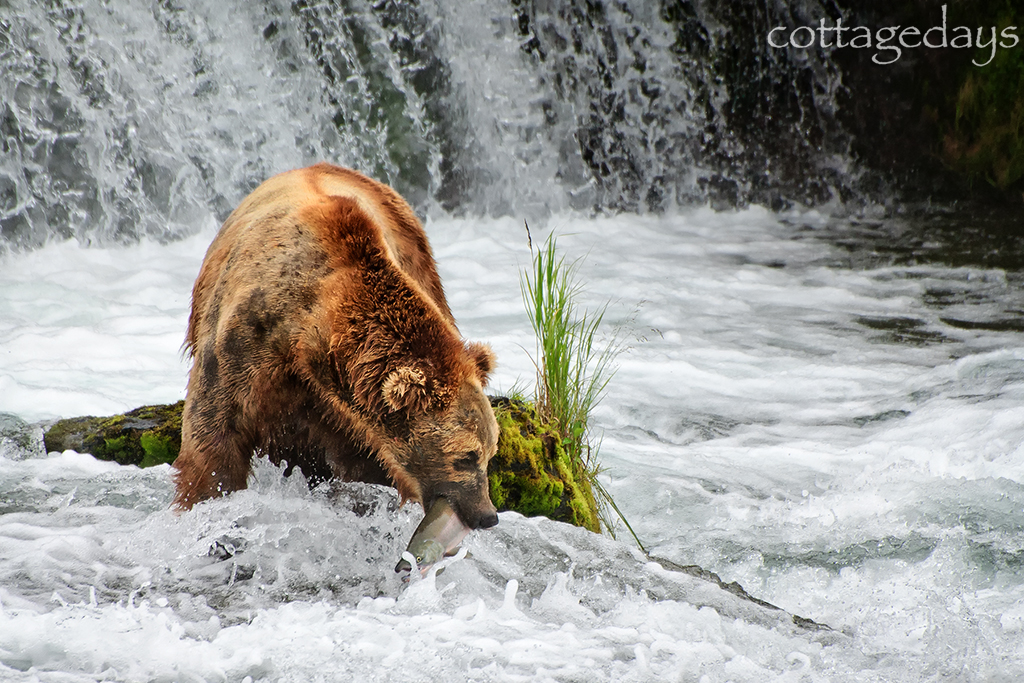
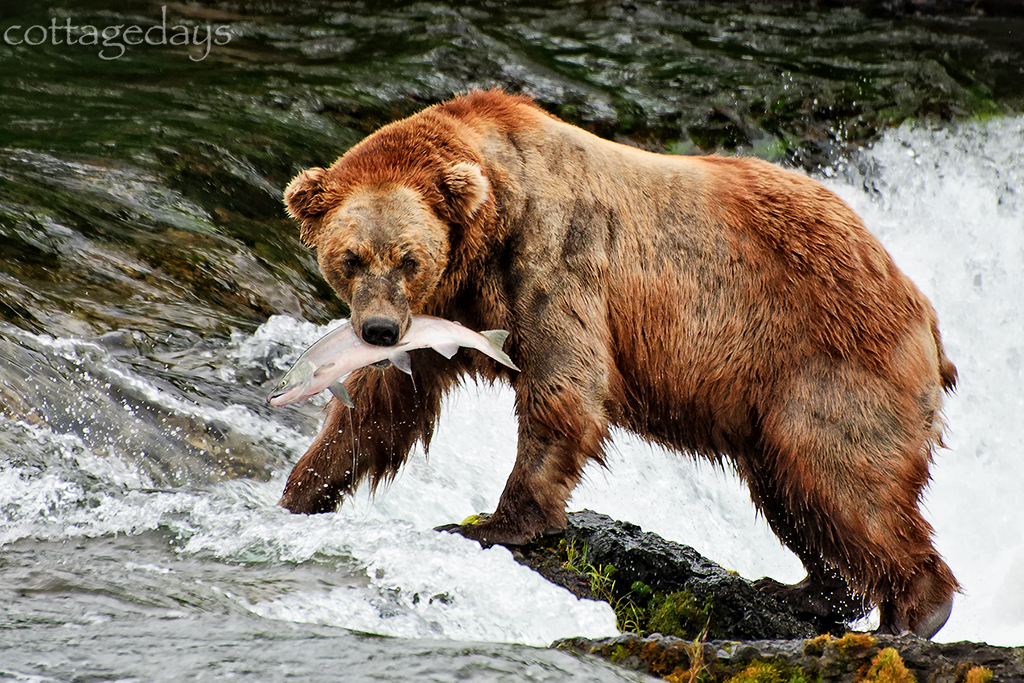
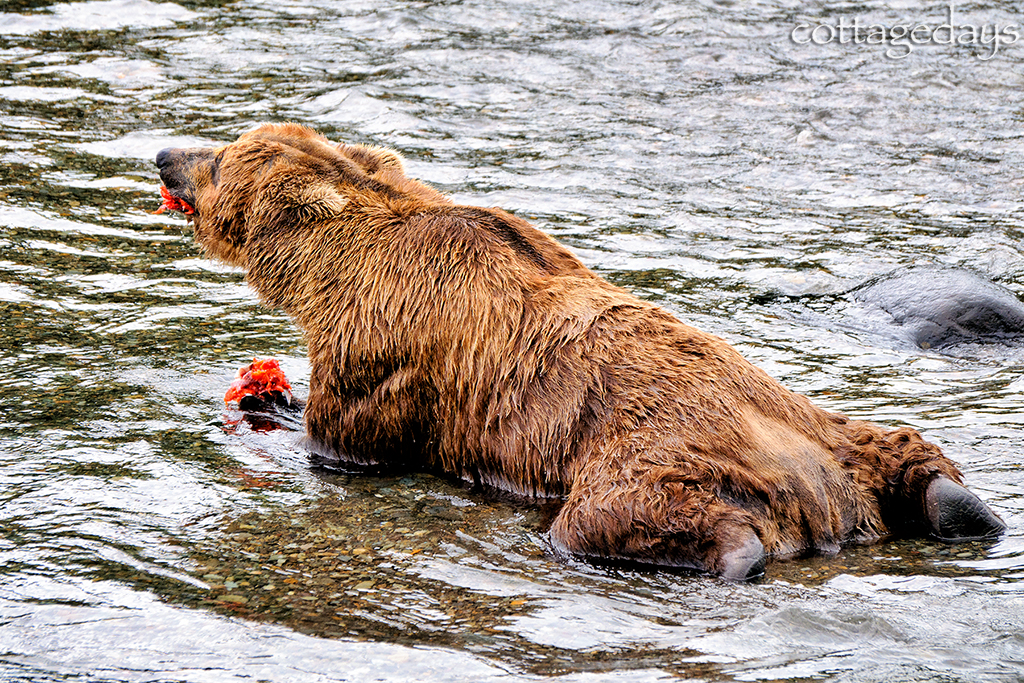
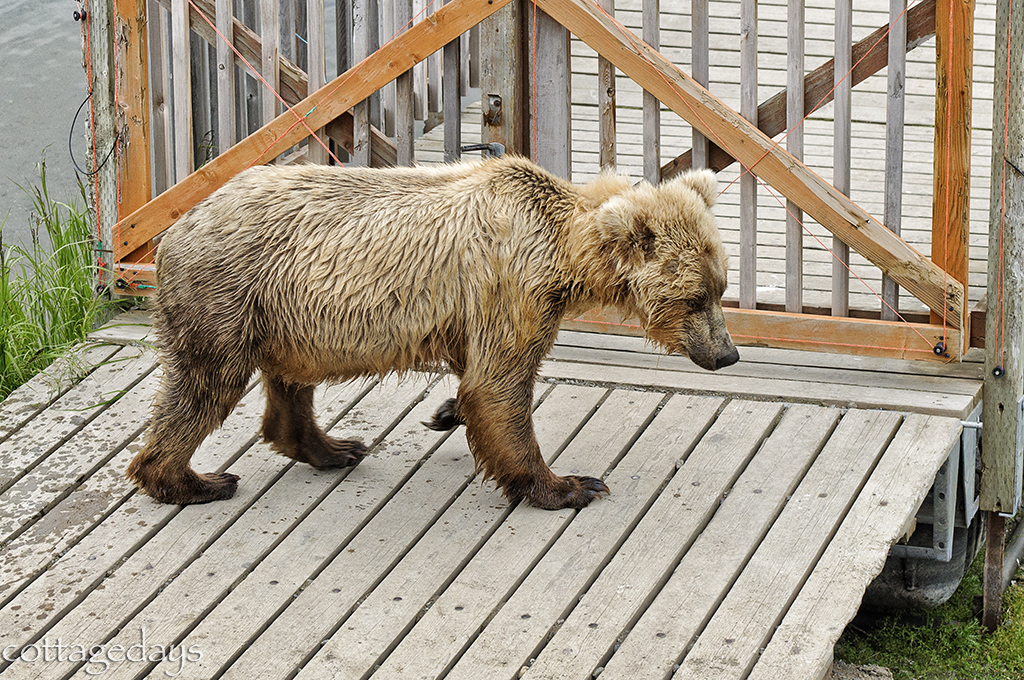
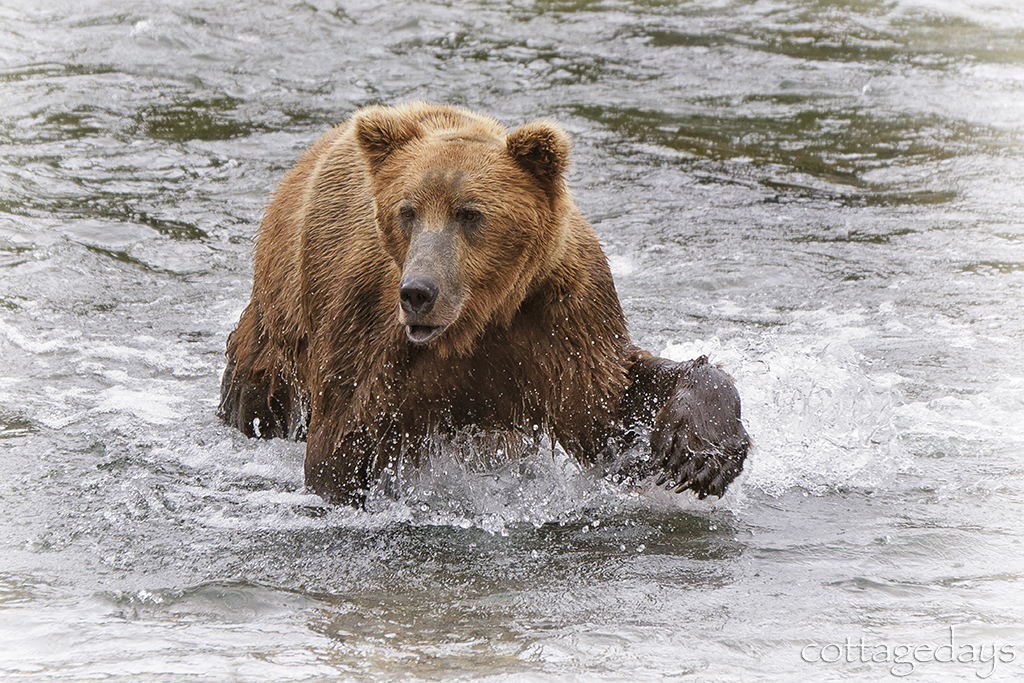
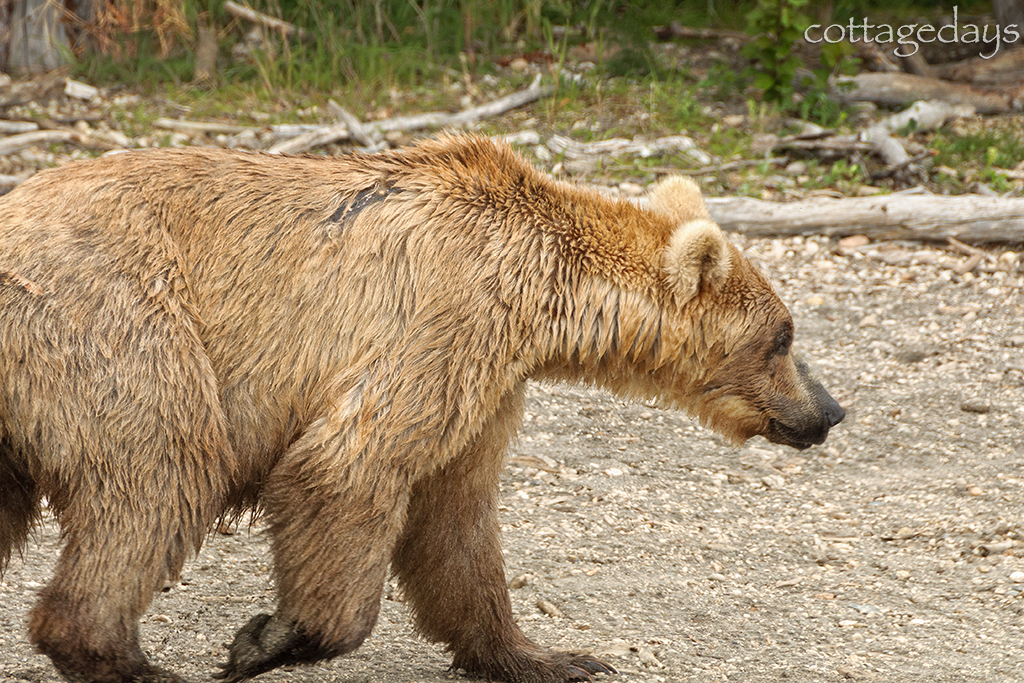
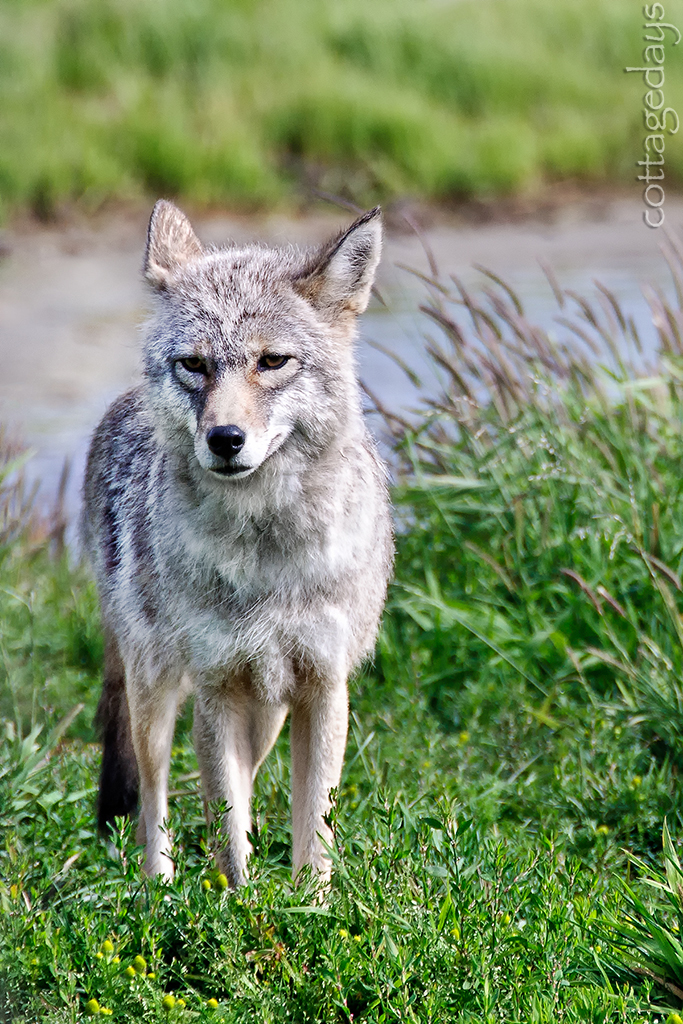
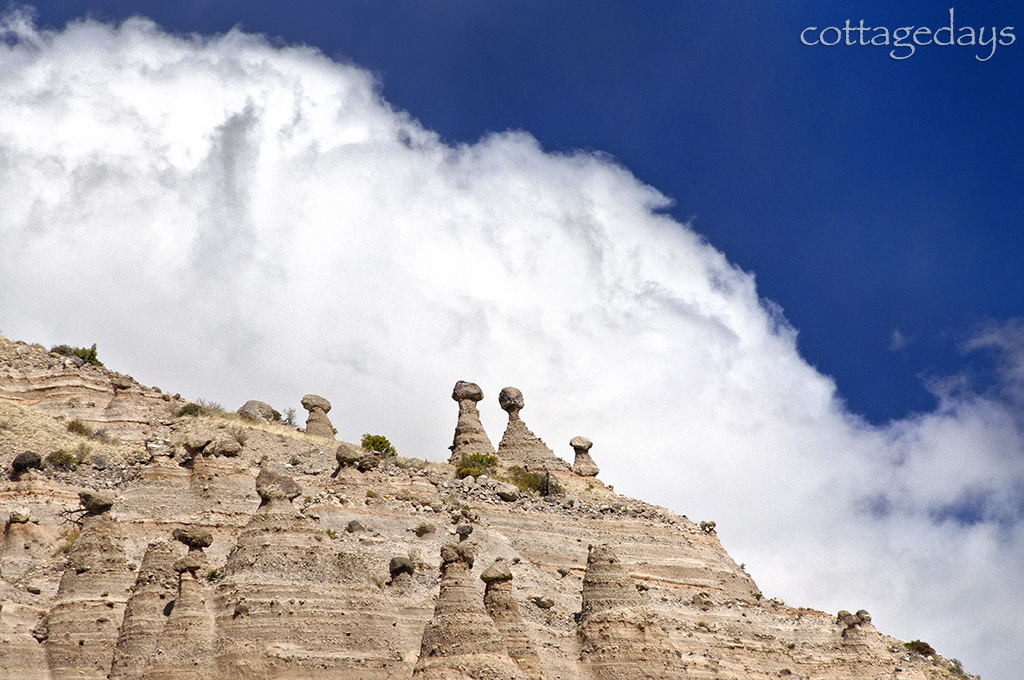
I started out doing stamped designs, but then later changed to making cards using my own photographs. The cost per card is a fraction of store prices. It’s also much more satisfying to create something uniquely beautiful. As a bonus, recipients appreciate the thoughtfulness of receiving a handmade card in this cookie-cutter world.
I like to make two cards out of regular size cardstock. A finished card is 4-¼ ” by 5-½”. Envelopes are easily found for this size at office and paper supply stores. For a double border, I size rectangular photos down to a maximum width of 4-¼” and print four to a page. I use to Epson's Premium Presentation Paper with a matte finish. I also go through through my stash of cardstock to find colors that complement the photos.
I gather up my other supplies and tools, such as my nifty paper trimmer with a rotary cutting head, double-sided adhesive, bone folder, basic cardstock, black cardstock, and custom self-adhesive labels.
The background colors I picked are keepers!
Next, the photos get trimmed up and stacked.
The photo stacks are ready!
Then I start taping the photos to black cardstock pieces (to help make the images “pop”) and colored card stock.
The next step is to cut the matted photos apart and trim, leaving a ¼” margin all around.
I cut the cardstock in half and score each half down the middle for folding. I forgot to take a picture of the scoring board earlier! You don’t have to have one of these, but it does make the job a little easier. And you’ll notice that I didn’t use a plain white cardstock for the cards, but one with multi-colored speckles.
Then I start taping the photos onto the cards. The final step is to apply a decorated adhesive label on the back of each card. I designed and printed out the labels using a free Avery software program. The rabbit silhouette was created with a Martha Steward punch.
And here are the final results of my card-making endeavor. It is a little time consuming, but I enjoy the whole process. If I ever get to the point of selling my cards, then I will be exploring the use of printing services.


